Proxmox Part 0 - Project Specification
Planning the Encrypted Proxmox Installation project
Motivation
After being busy with work, it’s time to continue a project I started last year. I realized that a proper introduction and set of goals for the Proxmox project was missing, which is why this “Part 0” has been created.
Goals
- Proxmox installation with encrypted filesystem
- Configure Secureboot
- Unlock encrypted hard drives during boot
- Create encrypted ZFS pools for data & unlock during boot
- Security hardening and system configurations
- Experimenting on maintenance pipelines
1. Proxmox installation with an encrypted filesystem
The standard Proxmox installer doesn’t offer an option for full disk encryption. However, Proxmox can be installed on top of a standard Debian system, which does allow for setting up an encrypted filesystem during its installation.
I will follow this guide, documenting the process for future reference. The key modification is configuring LUKS encryption during the Debian setup phase.
Status: Complete
Link: Proxmox Part 1 - Encrypted Installation
2. Configure Secureboot
Secure Boot is a security standard that ensures each component loaded during the boot process is digitally signed and trusted.
As discovered in my article Terramaster F4-424 Pro UEFI, the device’s UEFI suffers from a vulnerability where the installed Platform Key (PK) is a default AMI key. I intend to replace these default keys with my own custom-generated ones.
To complete the chain of trust, the Linux kernel itself must be signed. I’ll achieve this by creating a Unified Kernel Image (UKI), which bundles the kernel, initrd, and boot parameters into a single UEFI-compatible executable. Major advantage of this approach is that the UEFI firmware can launch the kernel directly, removing the need for a separate bootloader (GRUB) and simplifying the boot process.
Status: Complete
Link: Proxmox Part 2 - Secure Boot & UKI
3. Unlock encrypted hard drives during boot
Manually entering a decryption password on every reboot is impractical for a server. The goal here is to leverage the motherboard’s Trusted Platform Module (TPM) to automatically unseal the encryption keys and unlock the drive at boot.
Status: Complete
Link: Proxmox Part 3 - TPM 2.0 & Root LUKS
4. Create encrypted ZFS pools for data & unlock during boot
After the base system is secured, the next step is to create encrypted ZFS storage pools for data. These pools must also be configured to unlock automatically on boot, likely using the same TPM-based approach as in previous goal.
Status: WIP
5. Security hardening and system configurations
Once the foundational setup is complete, the final phase will be to harden the device’s security. I will conduct an audit to identify and mitigate any vulnerabilities in this custom configuration. At the same time, I will review and fine-tune all system settings.
6. Experimenting on maintenance pipelines
This customized setup deviates significantly from a standard Proxmox configuration, which can create a maintenance challenge. To minimize this burden, especially for kernel updates, I plan to build an automated pipeline unless I come up some alternative approach.
The pipeline should fetch latest Proxmox kernel source, build an unified kernel image and sign it with my custom keys, run basic smoke tests in a virtual environment before deploying the new kernel.
Dev Environment
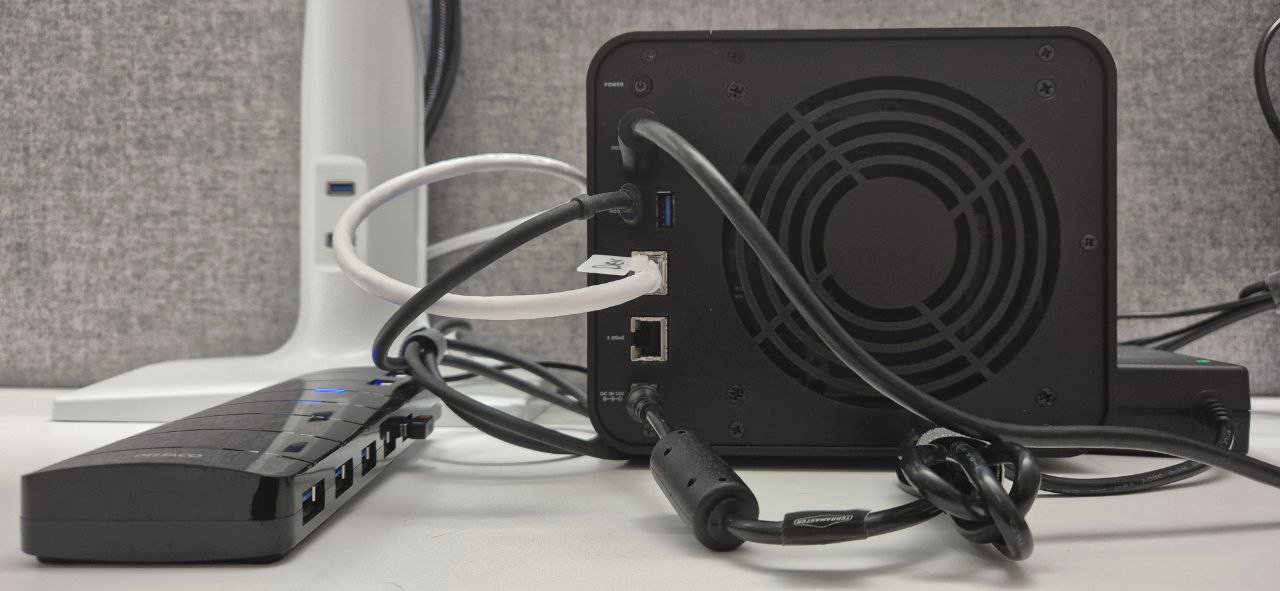
My development environment consists of the Terramaster F4-424 Pro on my desk, connected to a dedicated VLAN on my home network. I have the Samsung FIT USB stick connected to the onboard USB port. To speed up development I will not connect storage HDDs before stage 4, the device’s POST procedure during boot takes a considerably long time.
The device is controlled via:
- A USB hub for peripherals.
- An HDMI grabber connected to my desktop for video output.
- A single keyboard that can switch between multiple devices for input.